Manage your sandboxes more efficiently by assigning resource profiles to them based on your needs. Resource profiles define the disk, CPU, and memory allocation for their assigned sandboxes.
Assigning resource profiles to sandboxes provides several benefits:
- You can assign different size resource profiles to sandboxes according to your performance needs.
- Developers can more easily maintain sandbox content, ensuring that configuration is aligned with the production environment.
- When running automated tests, you can use the full data set.
- You can view sandbox usage information by profile using the
GET/realm/{realm}/usagemethod.
You can assign one of three discrete profiles to each on-demand sandbox. This table describes the settings for each resource profile:
| Resource Profile | CPU & Memory Units | Storage | Running Cost (Credits/Minute) | Stopped Cost (Credits/Minute) |
|---|---|---|---|---|
| medium (Default) | 1 | 10 GB | 1 | 0.3 |
| large | 2 | 20 GB | 2 | 0.3 |
| xlarge | 4 | 50 GB | 4 | 0.3 |
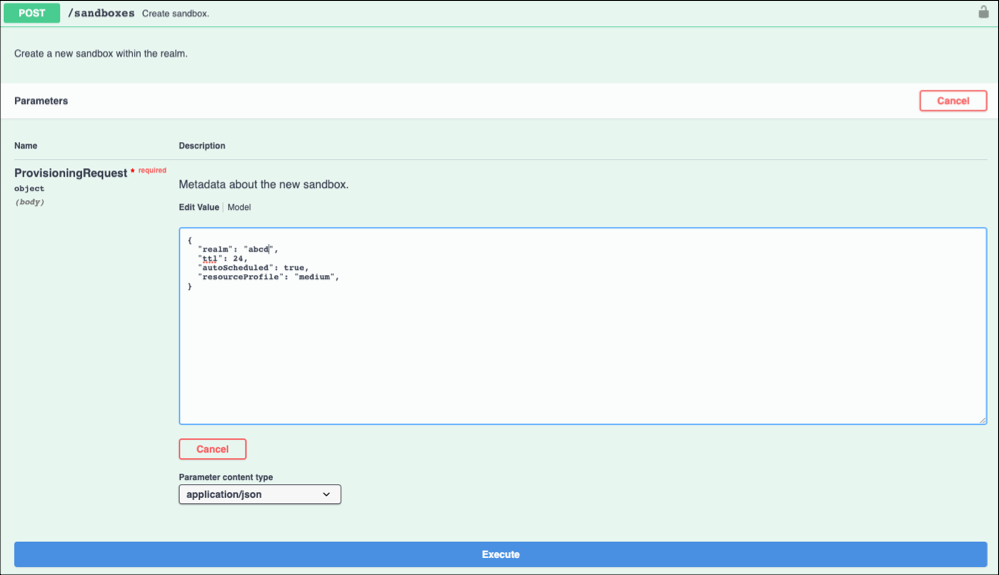
Define an on-demand sandbox with a resource profile using the
POST/sandboxes method.
-
Click Execute.